
Save Add. 10% (Code: sales)
Oriental Pearls Specializes
Wholesale Pearls – in All Sizes, All Shapes, Any Color, Any Quantity
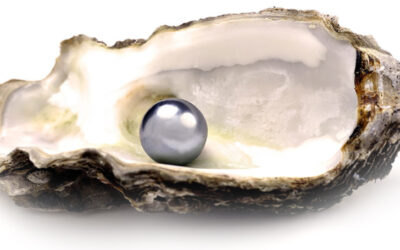
Why pay middlemen for real freshwater pearls jewelry at high prices when you could get wholesale priced pearls online and have discount pearl jewelry such as pearl necklaces and earrings made for you? You can buy any colored cultured pearls or pearls in oysters, at ZERO risks from the world’s largest freshwater pearl farm direct with a USA based pearls wholesaler – a D & B and BBB accredited business in California, online since 2002!
Featured Products
-
Sale!
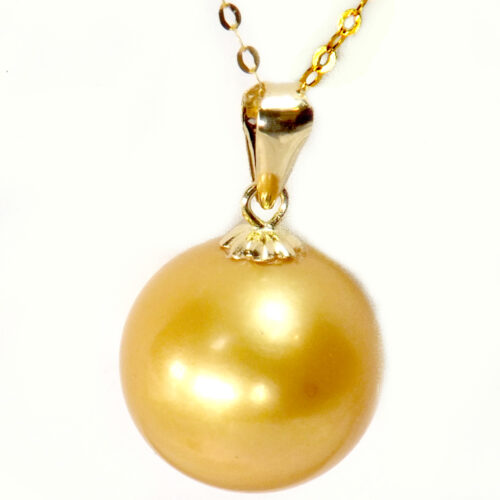
10-17mm Huge Golden Truly Round Edison Pearl Pendant 18K Yellow Gold
$29.97 – $169.97 Select options -
Sale!

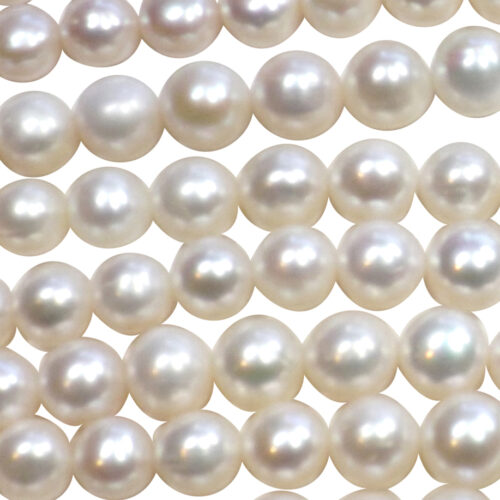
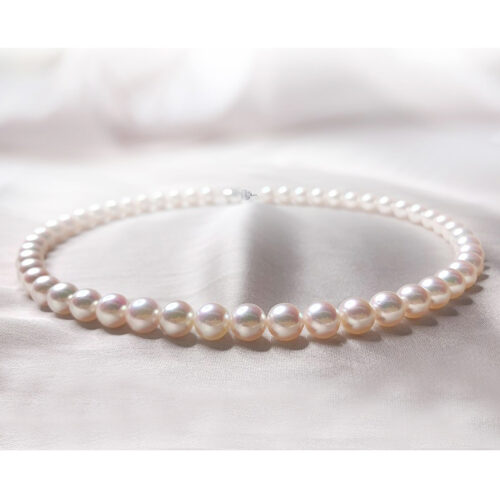
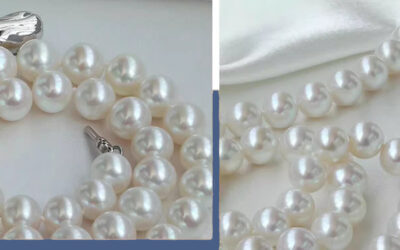
11-13mm Huge Sized High Quality Real Round White Pearl Strands
$119.99 Select options -
Sale!
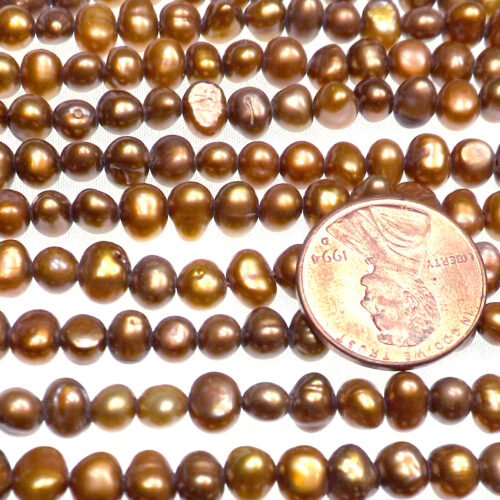
5-6mm Brown Chocolate Colored Quality Baroque Pearls on a Temporary Strand
$2.99 Select options -
Sale!
6-7mm AA Quality Round Pearl Strand 1.5mm hole
$37.97 Select options -
Sale!
7-7.5mm Japanese Akoya HIGH AAA Quality 18″ Round Pearl Necklace 14KG
$629.99 – $649.99 Select options -
Sale!
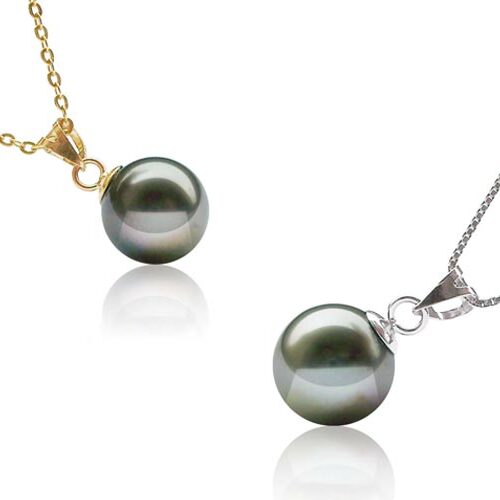
9-10mm 14K Gold Tahitian Pearl Pendant in Perfect Round Shape – A Treasure!
$99.97 – $189.99 Select options -
Sale!
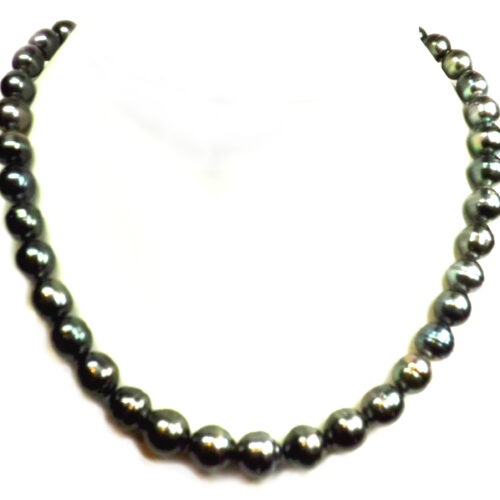
Tahitian Pearl Necklace Gorgeous Authentic 9-11mm Big Tahitian Off-Round Pearls 14KYG
$579.99 Add to cart -
Sale!
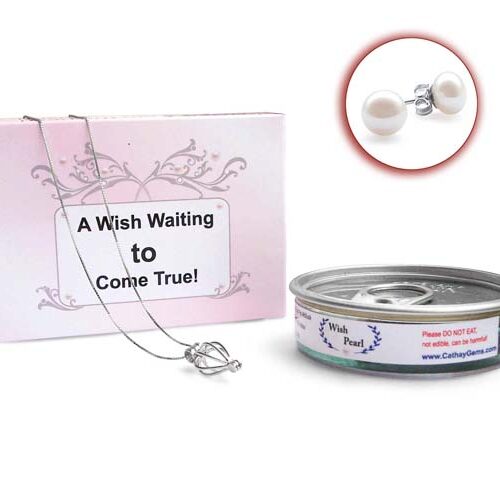
Wishing Pearl Gift Set w/ 16in or 18in 925 Sterling Silver Chain and a Pearl Cage
$12.97 Select options
Why Orientpearls.net?

When you buy pearls online from orientalpearls.net, you will get unique pearl jewelry made as per your request with the best quality freshwater pearls at the lowest wholesale prices. Guaranteed! Why?
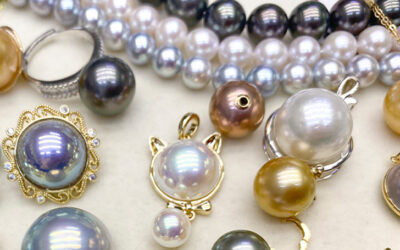
In any shape – from classical round pearls, rice or oval pearls, coin pearls, cornflake pearls or keshi, baroque pearls, button pearls and biwa pearls, to many other shaped pearls!
In any grade – from low grade pearls (intended for pearl powder or pharmaceutical use) all the way to the best AAA and top gem quality, featured in high end jewelry and department stores by jewelry designers.
Drilling pearls in any way you want – half drilled, double drilled, top drilled, center drilled or diagonally drilled. You can ask for standard hole size for a pearl necklace, or any larger hole sizes that you specify from 1mm to 2.5mm.
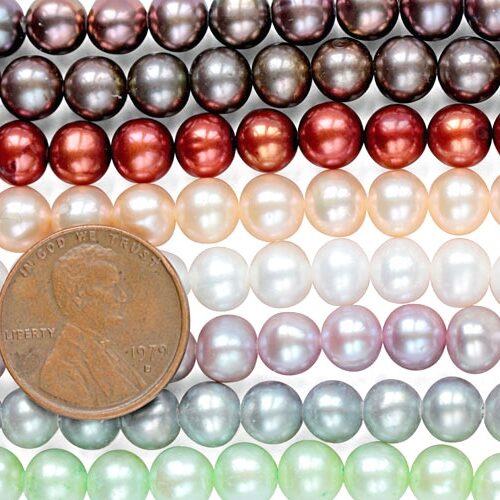
In any color – from black, white, pink, gray, brown, champagne, chocolate, red, blue to mauve and more! Whichever colored pearls you choose, we can process it for you in two weeks! Besides naturally colored pearls, including white, pink, mauve and lavender, we also wholesale pearls in peacock, chocolate, ivory, cream, pink, champagne, yellow, green, red, and cranberry shades.
Because we own our own pearl farms and in-house manufacturing unit! You can buy wholesale pearls from us, also can get
Special Posts
Modernizing Wedding Attire with Grandma’s Gems in 2024!
Weddings are a celebration of love and tradition, but that doesn't mean your attire has to be stuck in the past! Modernizing wedding outfits can be an exciting way to embrace tradition while adding a contemporary twist. One way to achieve this is by incorporating...
June’s Birthstone – Pearls Direct From Farms
June's Birthstone - Pearl - A Timeless and Elegant Birthday Gift Direct from Pearl Farms with No Middlemen's cost & Save Huge Birthstones have long been associated with each month of the year, symbolizing various qualities and characteristics. In the case of June,...
Pearls and Pearl Jewelry Making
Making High End Pearls Jewelry @ Wholesale The beauty and elegance of pearls have captured the hearts of jewelry enthusiasts for centuries. While pearls are often associated with luxury and high-end jewelry, it's now possible to create your own high-end pearl jewelry...